Introduction to No-Bake Cookie Dough Bars
If you’re on the hunt for a sweet treat that’s both easy to make and utterly delicious, look no further! No-bake cookie dough bars are the perfect solution. These bars combine the rich flavors of cookie dough with a crunchy base, creating a delightful dessert that everyone will love. Whether you’re hosting a party or just craving something sweet, these bars are sure to impress.
What Makes No-Bake Cookie Dough Bars Special?
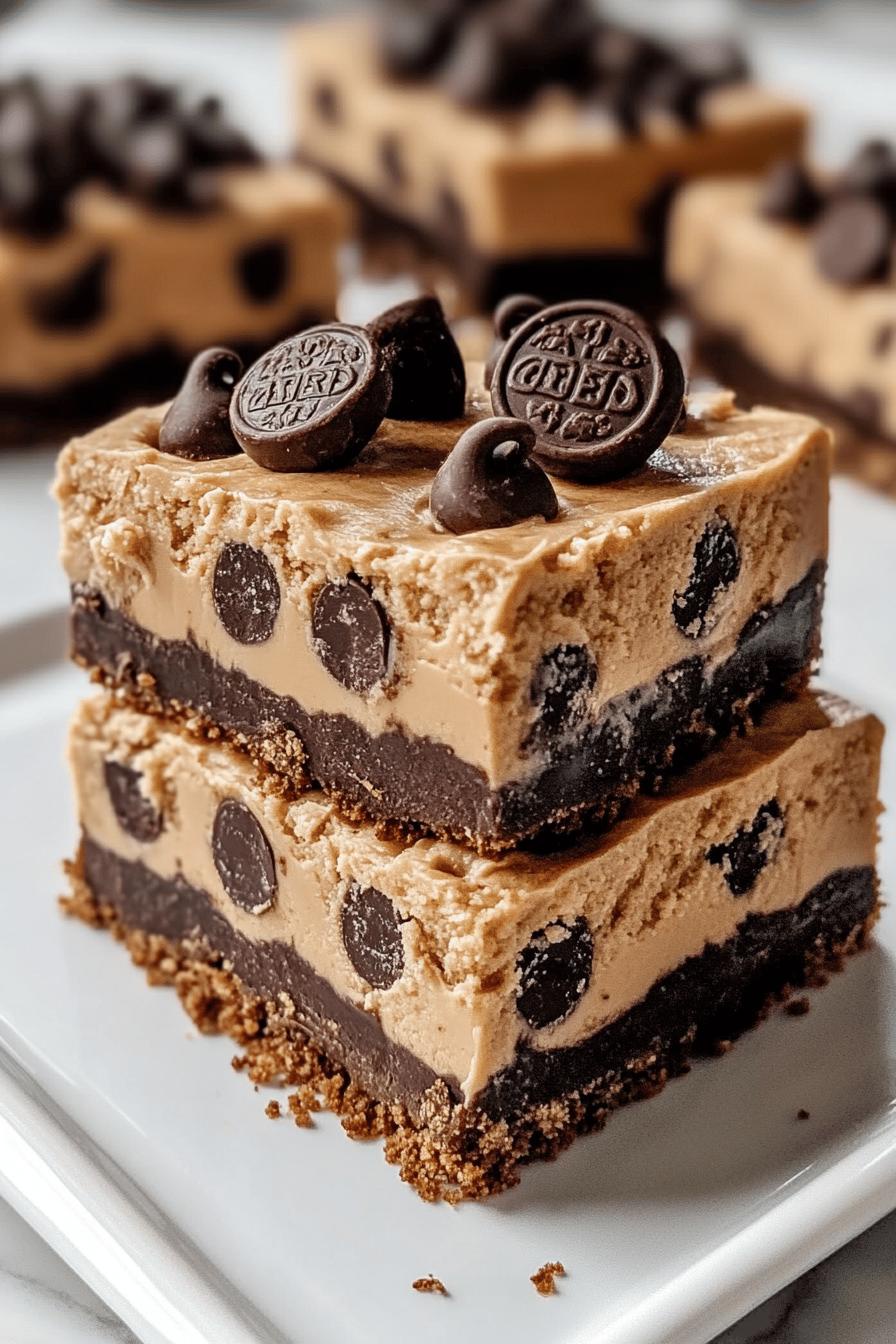
No-bake cookie dough bars stand out for several reasons. First, they require no baking, which means you can whip them up in no time. This makes them a fantastic option for those who may not have access to an oven or simply want to avoid the heat. Second, the combination of textures is simply irresistible. The crunchy chocolate sandwich cookie base pairs perfectly with the creamy, chocolate chip-studded cookie dough layer. It’s a match made in dessert heaven!
Moreover, these bars are incredibly versatile. You can customize them to suit your taste preferences. Want to add nuts or swap out the chocolate chips for something else? Go for it! The possibilities are endless, making these bars a fun and creative dessert option.
Why You Should Try No-Bake Cookie Dough Bars
There are countless reasons to try no-bake cookie dough bars. For starters, they are a crowd-pleaser. Kids and adults alike will enjoy this sweet treat. Plus, they are perfect for any occasion, from birthday parties to casual family gatherings. You can even make them ahead of time, allowing you to enjoy your event without the stress of last-minute baking.
Additionally, these bars are a great way to satisfy your sweet tooth without the fuss of traditional baking. With just a few simple ingredients, you can create a dessert that feels indulgent yet is surprisingly easy to prepare. So, if you’re looking for a quick and delightful treat, no-bake cookie dough bars are the way to go!
Ingredients for No-Bake Cookie Dough Bars
To create these delightful no-bake cookie dough bars, you’ll need a handful of simple ingredients. Each component plays a crucial role in achieving that perfect balance of flavor and texture. Here’s what you’ll need:
- Chocolate Sandwich Cookies: 1 ½ cups, crushed. These form the crunchy base of your bars.
- Unsalted Butter: ½ cup, melted. This helps bind the cookie base together.
- All-Purpose Flour: 1 cup. Make sure to use heat-treated flour for safety.
- Brown Sugar: ¾ cup, packed. This adds sweetness and a rich flavor.
- Granulated Sugar: ¼ cup. A little extra sweetness never hurts!
- Vanilla Extract: 1 teaspoon. This enhances the overall flavor of the cookie dough.
- Chocolate Chips: 1 cup. Use semi-sweet or milk chocolate chips for a delicious touch.
These ingredients come together to create a mouthwatering treat that’s sure to satisfy your cravings. Feel free to get creative with your choices! You can swap out the chocolate sandwich cookies for other types or even add in your favorite mix-ins. The key is to have fun while making these bars!
Step-by-Step Preparation of No-Bake Cookie Dough Bars
Now that you have all your ingredients ready, it’s time to dive into the fun part: making your no-bake cookie dough bars! Follow these simple steps to create a delicious treat that everyone will love.
Step 1: Prepare the Cookie Base
First, you’ll want to prepare the cookie base. Start by crushing the chocolate sandwich cookies into fine crumbs. You can do this by placing them in a zip-top bag and using a rolling pin or by pulsing them in a food processor. Once you have your crumbs, transfer them to a mixing bowl.
Next, pour in the melted unsalted butter. Mix everything together until the crumbs are well-coated and the mixture resembles wet sand. This will help the base hold together nicely. Now, press the mixture firmly into the bottom of a lined 8×8-inch baking dish. Make sure it’s even and compact, as this will be the foundation of your bars.
Step 2: Make the Cookie Dough Layer
With the base ready, it’s time to make the cookie dough layer. In a large mixing bowl, combine the all-purpose flour, brown sugar, and granulated sugar. Stir these dry ingredients together until they are well mixed. Then, add in the vanilla extract and a pinch of salt for flavor.
Now, it’s time to add the chocolate chips! Fold them into the mixture, ensuring they are evenly distributed. The dough should be thick and creamy, perfect for spreading over the cookie base. If it feels too dry, you can add a splash of milk to help it come together.
Step 3: Assemble the No-Bake Cookie Dough Bars
Once your cookie dough layer is ready, it’s time to assemble the bars. Spread the cookie dough mixture evenly over the prepared cookie base. Use a spatula to smooth it out, making sure it reaches all corners of the dish. This layer is where the magic happens, so take your time to make it look nice!
For an extra touch, you can sprinkle a few more chocolate chips on top. This not only adds visual appeal but also gives a delightful chocolatey bite in every piece. Now, your bars are almost ready!
Step 4: Chill and Set the Bars
The final step is to chill the bars. Cover the baking dish with plastic wrap or aluminum foil and place it in the refrigerator. Let the bars chill for at least 2 hours, or until they are firm enough to cut. This step is crucial, as it helps the layers set and makes them easier to slice.
Once chilled, remove the bars from the fridge. Lift them out of the dish using the parchment paper, and place them on a cutting board. Use a sharp knife to cut them into squares or rectangles, depending on your preference. Now, they’re ready to be enjoyed!
Variations of No-Bake Cookie Dough Bars
If you love the idea of no-bake cookie dough bars but want to switch things up, you’re in luck! There are plenty of variations you can try. From different cookie bases to exciting flavor twists, these bars can be customized to suit your taste. Let’s explore some fun options!
Different Cookie Base Options
The cookie base is the foundation of your no-bake bars, and you can get creative here! While chocolate sandwich cookies are a classic choice, consider these alternatives:
- Graham Crackers: For a lighter base, crush graham crackers instead. They add a subtle sweetness and a hint of cinnamon.
- Oreo Cookies: Use regular or flavored Oreos for a twist. Mint or peanut butter Oreos can add a fun flavor to your bars.
- Digestive Biscuits: These provide a slightly different texture and a more wholesome taste.
- Rice Cereal: Mix crushed rice cereal with melted butter for a crunchy, no-bake base that’s reminiscent of classic treats.
Feel free to mix and match these options to find your favorite combination. Each base brings its own unique flavor and texture, making your no-bake cookie dough bars even more exciting!
Flavor Variations for the Cookie Dough Layer
The cookie dough layer is where you can really let your creativity shine. Here are some delicious flavor variations to consider:
- Peanut Butter Cookie Dough: Replace half of the butter with creamy peanut butter for a nutty twist. Add chopped peanuts for extra crunch!
- Chocolate Chip Cookie Dough: Use mini chocolate chips or even white chocolate chips for a different look and taste.
- Funfetti Cookie Dough: Mix in colorful sprinkles for a festive touch. This is perfect for birthdays or celebrations!
- Maple Pecan Cookie Dough: Substitute brown sugar with maple syrup and add chopped pecans for a delightful fall flavor.
These variations not only enhance the flavor but also make your no-bake cookie dough bars unique. Experiment with different combinations to find your perfect treat!
Cooking Note for No-Bake Cookie Dough Bars
When it comes to making no-bake cookie dough bars, there are a few important cooking notes to keep in mind. These tips will help ensure your bars turn out perfectly every time. Let’s dive into some key points to consider!
First, always use heat-treated flour in your cookie dough layer. This step is crucial for safety, as it eliminates any potential bacteria that may be present in raw flour. You can heat-treat flour by spreading it on a baking sheet and baking it at 350°F (175°C) for about 5 minutes. Allow it to cool before using it in your recipe.
Next, make sure your butter is melted but not too hot. If the butter is too hot, it can cause the chocolate chips to melt when mixed in, resulting in a less appealing texture. Let the melted butter cool slightly before combining it with the cookie crumbs.
Additionally, be patient during the chilling process. Allowing the bars to chill for at least 2 hours is essential for achieving the right consistency. If you try to cut them too soon, they may fall apart. Trust the process, and you’ll be rewarded with perfectly set bars!
Lastly, when cutting the bars, use a sharp knife for clean edges. If you find the bars are sticking to the knife, you can warm the blade slightly under hot water and dry it off before cutting. This will help create neat, beautiful squares that are perfect for serving.
By following these cooking notes, you’ll ensure that your no-bake cookie dough bars are not only delicious but also visually appealing. Happy baking!
Serving Suggestions for No-Bake Cookie Dough Bars
Once your no-bake cookie dough bars are ready, it’s time to think about how to serve them! These bars are not only delicious but also versatile, making them perfect for various occasions. Here are some delightful serving suggestions to elevate your dessert experience:
- Chilled Delight: Serve the bars straight from the refrigerator for a refreshing treat. The coolness enhances the creamy texture of the cookie dough layer, making each bite even more enjoyable.
- Garnish with Whipped Cream: Top each bar with a dollop of whipped cream. This adds a light and airy touch that complements the rich flavors of the cookie dough.
- Drizzle with Chocolate: For an extra indulgent treat, drizzle melted chocolate over the bars before serving. This not only looks beautiful but also adds a delicious chocolatey flavor.
- Pair with Ice Cream: Serve the bars alongside a scoop of vanilla or chocolate ice cream. The combination of warm and cold creates a delightful contrast that dessert lovers will adore.
- Festive Presentation: If you’re serving these bars at a party, consider cutting them into fun shapes using cookie cutters. This adds a playful element that’s sure to impress your guests.
- Mix and Match: Create a dessert platter by serving the cookie dough bars alongside other treats like brownies, fruit, or cookies. This variety allows everyone to choose their favorite sweet!
These serving suggestions will not only enhance the presentation of your no-bake cookie dough bars but also make them even more enjoyable. Whether it’s a casual family gathering or a festive celebration, these bars are sure to be a hit!
Tips for Perfect No-Bake Cookie Dough Bars
Creating the perfect no-bake cookie dough bars is all about attention to detail. With a few helpful tips, you can ensure that your bars turn out delicious and visually appealing every time. Here are some essential tips to keep in mind:
- Use Quality Ingredients: The flavor of your bars depends on the quality of your ingredients. Choose fresh chocolate chips and high-quality butter for the best taste. This small change can make a big difference!
- Don’t Skip the Chilling Time: Patience is key! Allow your bars to chill for at least 2 hours. This helps them set properly, making them easier to cut and enhancing their texture.
- Press Firmly: When preparing the cookie base, press the mixture firmly into the baking dish. A well-packed base will hold together better and provide a sturdy foundation for your cookie dough layer.
- Experiment with Mix-Ins: Feel free to get creative! Add nuts, dried fruit, or even crushed candies to your cookie dough layer. This not only adds flavor but also gives your bars a unique twist.
- Store Properly: To keep your no-bake cookie dough bars fresh, store them in an airtight container in the refrigerator. They can last up to a week, making them a great make-ahead treat!
- Cut with Care: Use a sharp knife to cut your bars into squares or rectangles. For cleaner cuts, warm the knife under hot water and dry it off before slicing. This will help prevent the bars from sticking to the blade.
- Try Different Toppings: Don’t hesitate to add toppings! Sprinkles, crushed cookies, or a drizzle of caramel can elevate your bars and make them even more enticing.
By following these tips, you’ll be well on your way to creating perfect no-bake cookie dough bars that are sure to impress. Enjoy the process and have fun experimenting with flavors and textures!
Breakdown of Time for No-Bake Cookie Dough Bars
When making no-bake cookie dough bars, it’s essential to plan your time wisely. Knowing how long each step takes can help you manage your schedule and ensure everything goes smoothly. Here’s a breakdown of the time you’ll need for each part of the process:
Prep Time
The prep time for no-bake cookie dough bars is quite short. You’ll need about 15 to 20 minutes to gather your ingredients and prepare the cookie base and cookie dough layer. This includes crushing the cookies, mixing the ingredients, and spreading the layers in the baking dish. It’s a quick and easy process that anyone can handle!
Cooking Time
Since these bars are no-bake, there’s no actual cooking time involved. However, you will need to chill the bars to help them set properly. This chilling time typically takes around 2 hours. It’s important to be patient during this step, as it ensures your bars hold together when you cut them.
Total Time
In total, you can expect to spend about 2 hours and 20 minutes from start to finish. This includes the 15 to 20 minutes of prep time and the 2 hours of chilling time. With such a small time investment, you’ll be rewarded with a delicious treat that’s perfect for any occasion!
Nutritional Information for No-Bake Cookie Dough Bars
Understanding the nutritional content of your no-bake cookie dough bars can help you enjoy them in moderation. While these bars are a delightful treat, it’s always good to know what you’re indulging in. Here’s a breakdown of the key nutritional information for a typical serving of no-bake cookie dough bars:
Calories
Each serving of no-bake cookie dough bars contains approximately 250 to 300 calories. This can vary based on the specific ingredients you use, such as the type of chocolate chips or the amount of butter. While they are a sweet indulgence, enjoying them in moderation is key to maintaining a balanced diet.
Protein
In terms of protein, each bar offers about 3 to 4 grams. This is primarily from the chocolate chips and the all-purpose flour used in the recipe. While they aren’t a significant source of protein, they can still be a satisfying treat after a meal or as a snack.
Sodium
The sodium content in no-bake cookie dough bars is roughly 150 to 200 milligrams per serving. This amount can vary depending on the type of butter and cookies you choose. If you’re watching your sodium intake, consider using unsalted butter and low-sodium cookie options to keep the levels in check.
Overall, no-bake cookie dough bars can be a delightful addition to your dessert repertoire. Just remember to enjoy them as part of a balanced diet, and you’ll be able to savor every delicious bite!
FAQs about No-Bake Cookie Dough Bars
Can I use different types of chocolate chips in No-Bake Cookie Dough Bars?
Absolutely! You can use various types of chocolate chips to customize your no-bake cookie dough bars. Semi-sweet, milk chocolate, or even dark chocolate chips can all work beautifully. If you’re feeling adventurous, try using white chocolate chips or butterscotch chips for a unique twist. The choice is yours, and each type will bring its own flavor to the bars!
How long do No-Bake Cookie Dough Bars last?
No-bake cookie dough bars can last up to a week when stored properly. Keep them in an airtight container in the refrigerator to maintain their freshness. If you notice any changes in texture or smell, it’s best to discard them. However, with their delicious taste, they’re likely to be gone before you know it!
Can I freeze No-Bake Cookie Dough Bars?
Yes, you can freeze no-bake cookie dough bars! To do this, cut them into squares and place them in a single layer in an airtight container. You can also wrap them individually in plastic wrap for easy access. They can be stored in the freezer for up to three months. When you’re ready to enjoy them, simply thaw them in the refrigerator for a few hours or at room temperature for a quick treat!
What can I substitute for the chocolate sandwich cookies?
If you don’t have chocolate sandwich cookies on hand, there are plenty of substitutes you can use! Graham crackers, Oreos, or even digestive biscuits can work well as a base. For a gluten-free option, consider using gluten-free cookies or crushed rice cereal mixed with melted butter. Each alternative will give your bars a different flavor and texture, so feel free to experiment!
Conclusion on No-Bake Cookie Dough Bars
Final Thoughts on Making No-Bake Cookie Dough Bars
In conclusion, no-bake cookie dough bars are a delightful treat that anyone can make. They are simple, quick, and require no baking, making them perfect for busy days or spontaneous cravings. With just a few ingredients, you can create a dessert that is not only delicious but also customizable to suit your taste.
Whether you stick to the classic recipe or experiment with different flavors and bases, these bars are sure to impress. They are great for parties, family gatherings, or just a sweet snack at home. Plus, the joy of making them is just as satisfying as eating them!
So, gather your ingredients, follow the steps, and enjoy the process of creating these scrumptious no-bake cookie dough bars. Remember, the best part is sharing them with friends and family. Happy baking, or should we say, happy no-baking!