Introduction to Crimson Galaxy Dream Ice Cream
What Makes Crimson Galaxy Dream Ice Cream Special?
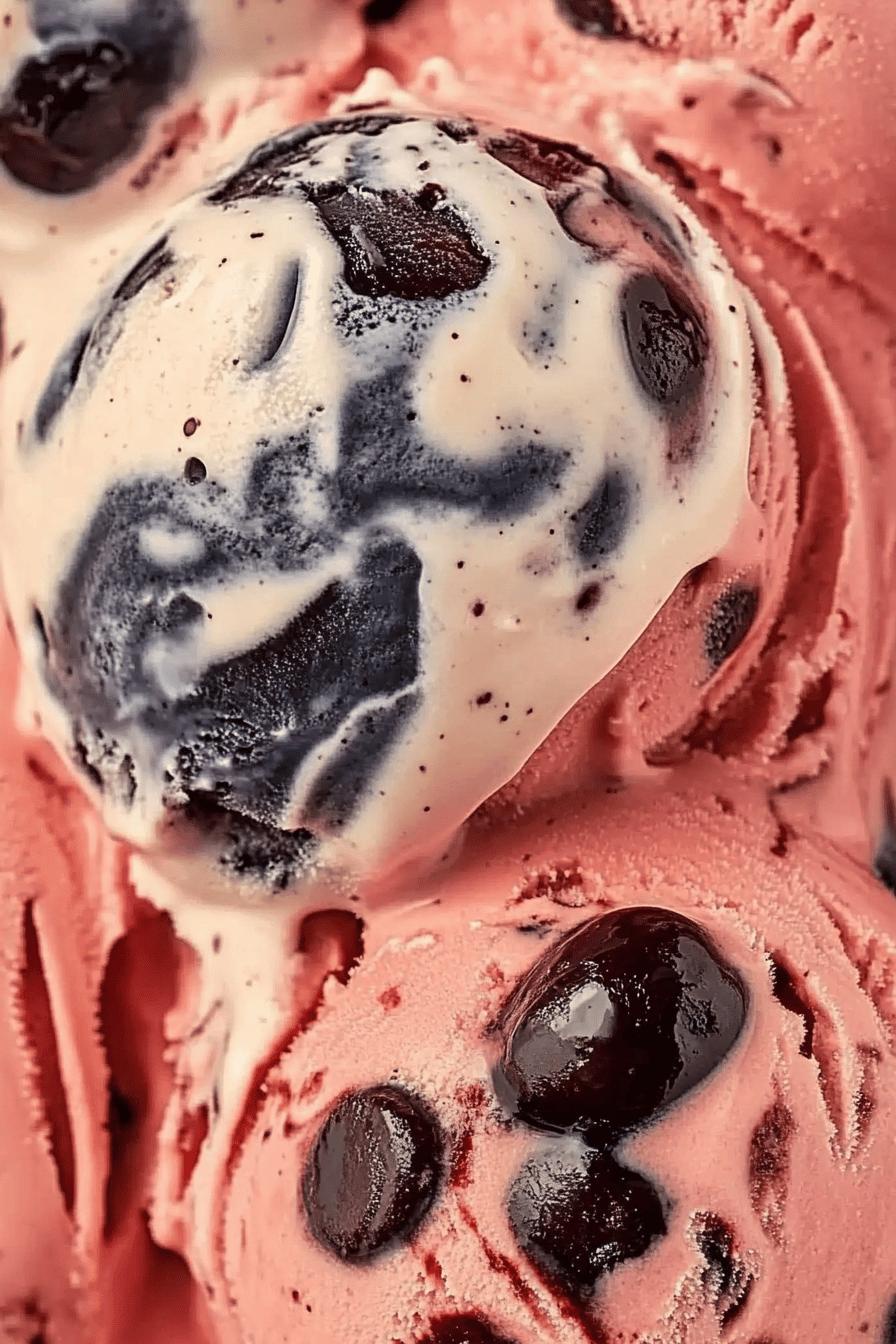
Crimson Galaxy Dream Ice Cream is not just any dessert; it’s a delightful experience! The combination of cherry puree and chocolate chips creates a flavor explosion that dances on your taste buds. Each scoop is a swirl of vibrant colors and rich tastes, making it visually appealing and delicious. The fresh cherries add a burst of juiciness, while the creamy base ensures a smooth texture. This ice cream is perfect for those who love a sweet treat that feels both indulgent and refreshing.
The Perfect Summer Treat
When summer arrives, the heat can be intense. What better way to cool down than with a scoop of homemade ice cream? Crimson Galaxy Dream Ice Cream is the ideal summer treat. It’s easy to make, and you can whip it up in no time. Whether you’re hosting a backyard barbecue or enjoying a quiet evening at home, this ice cream will surely impress. Plus, it’s a fantastic way to bring family and friends together. Everyone loves ice cream, and this recipe is a surefire hit!
Ingredients for Crimson Galaxy Dream Ice Cream
To create your own batch of Crimson Galaxy Dream Ice Cream, you’ll need a few simple ingredients. Each one plays a vital role in crafting this delicious treat. Here’s what you’ll need:
- 2 cups fresh cherries, pitted and halved
- 1 cup cherry puree (made from fresh cherries)
- 1 cup heavy cream
- 1 cup whole milk
- 3/4 cup granulated sugar
- 1 teaspoon vanilla extract
- 1/2 cup chocolate chips (semi-sweet or dark)
- Pinch of salt
These ingredients come together to create a creamy, dreamy ice cream that’s bursting with flavor. The fresh cherries provide a natural sweetness, while the chocolate chips add a delightful crunch. You can easily find these ingredients at your local grocery store, making it convenient to whip up this treat anytime you crave something sweet!
Step-by-Step Preparation of Crimson Galaxy Dream Ice Cream
Step 1: Prepare the Cherry Puree
To start, you’ll need to prepare the cherry puree. First, take your fresh cherries and wash them thoroughly. Then, pit and halve the cherries. Place the halved cherries in a blender or food processor. Blend until smooth, creating a luscious cherry puree. If you prefer a sweeter taste, you can add a tablespoon of sugar while blending. Once done, set the puree aside. This step is crucial as it adds the vibrant cherry flavor that makes this ice cream special!
Step 2: Create the Ice Cream Base
Next, it’s time to create the ice cream base. In a large mixing bowl, combine the heavy cream, whole milk, and granulated sugar. Whisk the mixture until the sugar dissolves completely. This process usually takes about 2-3 minutes. Then, add the vanilla extract and a pinch of salt. The salt enhances the flavors, making your ice cream even more delicious. Make sure everything is well combined for a smooth base.
Step 3: Combine Ingredients
Now, it’s time to bring everything together! Pour the cherry puree into the ice cream base. Gently fold the puree into the mixture using a spatula. Be careful not to overmix; you want to see beautiful swirls of cherry throughout the base. After that, add the chocolate chips. These little bites of chocolate will add a delightful crunch to your creamy ice cream. Mix until evenly distributed.
Step 4: Churn the Ice Cream
Once your mixture is ready, it’s time to churn! Pour the combined mixture into your ice cream maker. Follow the manufacturer’s instructions for churning. Typically, this process takes about 20-25 minutes. You’ll know it’s ready when the ice cream thickens and has a soft-serve consistency. If you don’t have an ice cream maker, you can pour the mixture into a shallow dish and stir every 30 minutes until it reaches the desired texture.
Step 5: Freeze and Set
Finally, transfer the churned ice cream into an airtight container. Smooth the top with a spatula and cover it tightly. Place the container in the freezer for at least 4 hours, or until the ice cream is firm. This step is essential for achieving that perfect scoopable texture. Once frozen, your Crimson Galaxy Dream Ice Cream is ready to be enjoyed! Scoop it into bowls or cones, and get ready to indulge in a delightful summer treat.
Variations of Crimson Galaxy Dream Ice Cream
Alternative Fruit Purees
If you want to switch things up, consider using different fruit purees! While cherries are the star of this recipe, other fruits can create equally delicious ice creams. For instance, you can use strawberries, raspberries, or blueberries. Each fruit brings its unique flavor and color, making your ice cream just as vibrant. To make a strawberry version, simply replace the cherry puree with fresh strawberry puree. The process remains the same, and you’ll have a delightful twist on the classic recipe!
Dairy-Free Options
For those who prefer dairy-free treats, you can easily adapt this recipe! Instead of heavy cream and whole milk, use coconut milk or almond milk. These alternatives provide a creamy texture without the dairy. Make sure to choose unsweetened versions to control the sweetness. Additionally, you can use maple syrup or agave nectar instead of granulated sugar for a natural sweetener. This way, everyone can enjoy a scoop of Crimson Galaxy Dream Ice Cream, regardless of dietary preferences!
Adding Different Mix-Ins
Mix-ins can take your ice cream to the next level! While chocolate chips are a fantastic choice, you can experiment with other ingredients. Consider adding crushed nuts, like almonds or pecans, for a crunchy texture. You could also include mini marshmallows or cookie dough pieces for a fun surprise in every bite. The possibilities are endless! Just remember to fold in your mix-ins gently to keep those beautiful swirls intact. Each variation will make your Crimson Galaxy Dream Ice Cream uniquely yours!
Cooking Note for Crimson Galaxy Dream Ice Cream
When making Crimson Galaxy Dream Ice Cream, a few cooking notes can help ensure your ice cream turns out perfectly every time. First, always use fresh, ripe cherries for the best flavor. The sweetness and juiciness of fresh cherries will elevate your ice cream, making it taste even more delightful.
Additionally, if you’re using an ice cream maker, make sure the bowl is completely frozen before pouring in the mixture. This step is crucial for achieving that creamy texture. If your ice cream maker has a built-in compressor, you can skip this step, but for traditional models, a well-frozen bowl is key.
Another tip is to chill your ice cream base before churning. Placing the mixture in the refrigerator for about 30 minutes can help it churn more efficiently. A colder base will lead to a smoother texture, reducing the formation of ice crystals.
Lastly, don’t rush the freezing process. Allowing the ice cream to set for at least 4 hours ensures it reaches the right consistency. If you try to scoop it too soon, it may be too soft. Patience is essential for the best results!
Serving Suggestions for Crimson Galaxy Dream Ice Cream
Creative Presentation Ideas
When it comes to serving Crimson Galaxy Dream Ice Cream, presentation can make all the difference! Start by using colorful bowls or cones to enhance the visual appeal. You can also layer the ice cream in a clear glass to showcase the beautiful swirls of cherry and chocolate. For an extra touch, drizzle some chocolate sauce or cherry syrup on top before serving. Adding a dollop of whipped cream and a cherry on top can elevate your dessert to a whole new level!
Another fun idea is to create ice cream sandwiches. Use soft cookies, like chocolate chip or sugar cookies, and scoop the Crimson Galaxy Dream Ice Cream in between. This combination is not only delicious but also a hit at summer parties. You can even roll the edges in sprinkles or crushed nuts for added texture and flavor. These creative presentations will surely impress your guests and make your ice cream the star of the show!
Pairing with Other Desserts
Crimson Galaxy Dream Ice Cream pairs wonderfully with a variety of desserts. For a delightful treat, serve it alongside warm brownies or chocolate cake. The contrast of warm and cold will create a heavenly experience for your taste buds. You can also serve it with fruit tarts or crumbles for a refreshing twist. The fruity flavors of the ice cream will complement the sweetness of the pastries beautifully.
If you’re feeling adventurous, try making a sundae bar! Set out different toppings like crushed cookies, nuts, and fresh fruits. Let everyone create their own unique sundae with Crimson Galaxy Dream Ice Cream as the base. This interactive dessert experience is perfect for gatherings and will keep everyone entertained. No matter how you choose to serve it, this ice cream is sure to be a crowd-pleaser!
Tips for Making the Best Crimson Galaxy Dream Ice Cream
Choosing the Right Cherries
When it comes to making the best Crimson Galaxy Dream Ice Cream, selecting the right cherries is crucial. Fresh, ripe cherries will enhance the flavor of your ice cream significantly. Look for cherries that are firm, plump, and have a deep red color. These cherries will be sweeter and juicier, providing the perfect base for your cherry puree.
Additionally, consider the variety of cherries you choose. Bing cherries are a popular option due to their sweetness, while tart cherries can add a unique zing to your ice cream. If you can, taste a cherry before buying to ensure it meets your sweetness preference. Remember, the better the cherries, the more delicious your ice cream will be!
Tips for Achieving the Perfect Texture
Achieving the perfect texture in your Crimson Galaxy Dream Ice Cream is all about balance and technique. First, ensure that your ice cream base is well-chilled before churning. A colder base will churn more efficiently, resulting in a creamier texture. Aim to chill the mixture in the refrigerator for at least 30 minutes before pouring it into your ice cream maker.
While churning, keep an eye on the consistency. You want it to reach a soft-serve texture, which usually takes about 20-25 minutes. If you churn it for too long, it may become too hard. Once you transfer the ice cream to the freezer, allow it to set for at least 4 hours. This step is essential for achieving that scoopable, creamy texture that everyone loves.
Lastly, avoid overmixing when combining the cherry puree and chocolate chips. Gentle folding will help maintain those beautiful swirls and prevent the ice cream from becoming too dense. With these tips, you’ll create a delightful Crimson Galaxy Dream Ice Cream that’s smooth, creamy, and bursting with flavor!
Breakdown of Time for Crimson Galaxy Dream Ice Cream
Prep Time
Preparing your Crimson Galaxy Dream Ice Cream is a breeze! The prep time for this delightful treat is approximately 20 minutes. This includes washing, pitting, and halving the cherries, as well as blending them into a smooth puree. You’ll also spend a few minutes mixing the ice cream base ingredients together. With just a little bit of time, you’ll have everything ready to go!
Cooking Time
When it comes to cooking time, the process is quite simple. The actual cooking time for this recipe is minimal, as you won’t be using a stove. Instead, the main focus is on churning the ice cream. This typically takes about 20-25 minutes in an ice cream maker. If you’re using a shallow dish to freeze the mixture, you’ll need to stir it every 30 minutes until it reaches the desired texture, which can take a bit longer. However, the hands-on time remains short and sweet!
Total Time
In total, you can expect to spend around 4 hours and 45 minutes from start to finish. This includes the 20 minutes of prep time, 25 minutes of churning, and at least 4 hours for freezing the ice cream to achieve that perfect scoopable consistency. While it may seem like a long wait, the delicious reward of your homemade Crimson Galaxy Dream Ice Cream will be well worth it!
Nutritional Information for Crimson Galaxy Dream Ice Cream
Calories
When indulging in a scoop of Crimson Galaxy Dream Ice Cream, it’s good to know what you’re enjoying. Each serving, which is about half a cup, contains approximately 200 calories. This number can vary slightly based on the specific ingredients you use, especially if you opt for different types of chocolate or sweeteners. While it’s a treat, it’s important to enjoy it in moderation, especially during those hot summer days!
Protein
In terms of protein, each serving of this delightful ice cream offers around 3 grams. The protein mainly comes from the milk and cream used in the recipe. While it’s not a significant source of protein, it does contribute to the overall nutritional profile. Pairing this ice cream with a protein-rich snack, like nuts or yogurt, can help balance your dessert experience!
Sodium
As for sodium content, a serving of Crimson Galaxy Dream Ice Cream contains about 50 milligrams. This is relatively low, making it a suitable option for those watching their sodium intake. The pinch of salt added to the ice cream base enhances the flavors without significantly increasing the sodium levels. Enjoying this treat can be a guilt-free pleasure, especially when you’re looking to cool down on a warm day!
FAQs about Crimson Galaxy Dream Ice Cream
Can I use frozen cherries for this recipe?
Yes, you can absolutely use frozen cherries for your Crimson Galaxy Dream Ice Cream! Frozen cherries are a great alternative, especially when fresh cherries are out of season. Just make sure to thaw them before blending to create your cherry puree. This will help achieve a smooth consistency. Keep in mind that frozen cherries may have a slightly different flavor profile, but they will still make a delicious ice cream!
How long can I store Crimson Galaxy Dream Ice Cream?
Your homemade Crimson Galaxy Dream Ice Cream can be stored in the freezer for up to two weeks. To keep it fresh, make sure to store it in an airtight container. This will help prevent ice crystals from forming and maintain its creamy texture. If you notice any changes in flavor or texture after two weeks, it’s best to enjoy it sooner rather than later. Trust us, it’s hard to resist this delightful treat!
What can I substitute for chocolate chips?
If you’re looking for alternatives to chocolate chips, there are plenty of options! You can use white chocolate chips for a sweeter twist or even butterscotch chips for a unique flavor. Chopped nuts, like almonds or pecans, can add a delightful crunch. For a fruity touch, consider adding dried cherries or cranberries. Feel free to get creative with your mix-ins, as they can enhance the overall taste of your Crimson Galaxy Dream Ice Cream!
Conclusion on Crimson Galaxy Dream Ice Cream
Why You Should Try This Recipe Today
Crimson Galaxy Dream Ice Cream is more than just a dessert; it’s a celebration of flavors and a delightful way to cool off during the hot summer months. With its vibrant colors and rich taste, this homemade treat is sure to impress family and friends alike. The combination of cherry puree and chocolate chips creates a unique flavor profile that is both refreshing and indulgent.
Making this ice cream is a fun and rewarding experience. The step-by-step preparation is simple, allowing even novice cooks to create a delicious dessert. Plus, the variations and mix-ins offer endless possibilities for customization. Whether you stick to the classic recipe or experiment with different fruits and flavors, each scoop will be a delightful surprise.
Moreover, sharing a bowl of Crimson Galaxy Dream Ice Cream with loved ones can create sweet memories that last a lifetime. It’s perfect for gatherings, parties, or simply enjoying a quiet evening at home. So why wait? Gather your ingredients and start making this delightful ice cream today! You’ll be glad you did, and your taste buds will thank you for the delicious treat!
Relevant Recipes Link:
Indulge in more decadent ice cream creations with these must-try recipes:
- Caffeine Cascade Dream Ice Cream: A Coffee Lover’s Delight
- Crimson Cocoa Rhapsody Ice Cream: A Rich Chocolate Escape
- Mocha Noir Dream Ice Cream: A Decadent Dessert Experience
For more delightful recipes and food inspiration, follow us on Pinterest!